How to Clean Your Car Interior Like a Detailer (Step by Step)
To clean your car interior like a detailer, work in this order: declutter, pull out the floor mats, dry-brush and vacuum from the top down, clean the headliner gently, deep-clean the seats and carpets, wipe and protect the dashboard and door panels, then finish with the windows and screens. Working top to bottom and dry before wet stops dust from falling onto surfaces you have already cleaned. A thorough job takes two to four hours with basic tools.
This guide covers the tools you need, the exact steps for each surface, what to avoid on leather, screens and headliners, and when a professional interior detail is worth paying for.
Key Takeaways
- Order matters: top to bottom, dry cleaning before wet cleaning, glass last.
- Use the right cleaner for each surface: upholstery cleaner for fabric, pH-balanced leather cleaner for leather, screen-safe cleaner for displays.
- Go easy on the headliner: spray the towel, not the roof, to avoid sagging.
- Dry everything fully to prevent mildew smells.
- DIY cost: about $50–$150 in supplies; a professional interior detail is about $75–$250.
Tools and Supplies
- Vacuum: a shop vacuum or strong cordless car vacuum with crevice, brush and upholstery tools.
- Brushes: soft detailing brushes for vents and seams, a stiffer brush for carpets and mats.
- Microfiber towels: several, kept separate for glass, interior plastics and dirty jobs.
- All-purpose interior cleaner safe for plastic and vinyl.
- Upholstery and carpet cleaner, ideally with an enzyme cleaner for organic stains.
- Leather cleaner and conditioner if you have leather seats.
- Ammonia-free glass cleaner and a screen-safe cleaner.
- Optional: a wet-dry vacuum or small carpet extractor, a steam cleaner, a rubber pet-hair brush and a UV protectant for plastics.
Step 1: Declutter and Remove the Floor Mats
Take everything out: trash, loose items, child seats if you can, and the contents of door pockets, seat-back pockets, cup holders, the center console and the trunk. Pull out the floor mats so you can clean them separately and reach the carpet underneath.
Step 2: Clean the Floor Mats
- Rubber or all-weather mats: shake them out, spray with an all-purpose cleaner, scrub, rinse with a hose and let them dry. Avoid slippery dressings on driver mats.
- Carpet mats: beat or shake out loose dirt, vacuum both sides, apply carpet cleaner, scrub with a stiff brush, rinse or extract, and dry completely in the sun before reinstalling.
Step 3: Dry-Brush and Vacuum, Top to Bottom
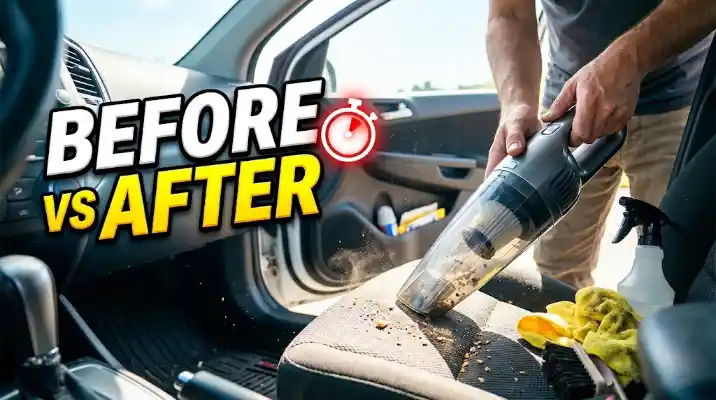
Use a soft brush to loosen dust from vents, seams, the dashboard, console and door panels, and vacuum as you go. Then vacuum the seats, including between and under the cushions, followed by the carpets, under the pedals, the seat rails and the trunk. Move the seats fully forward and back to reach everything. Brushing the carpet with a stiff brush before vacuuming lifts embedded sand and hair.
Step 4: Clean the Headliner Carefully
The headliner fabric is glued to a board, and soaking it can loosen the adhesive and cause sagging. Brush it gently with a soft brush first. For marks, lightly mist upholstery cleaner onto a microfiber towel, not onto the headliner, and dab or wipe in one direction with light pressure. Let it dry fully with the doors open.
Step 5: Clean Cloth Seats and Carpets
- Vacuum thoroughly first.
- Pre-treat stains with an enzyme or upholstery cleaner and let it dwell for the time on the label.
- Mist the cleaner over one section at a time and agitate with a soft upholstery brush or drill brush on low speed.
- Blot with a clean microfiber towel, or use a wet-dry vacuum or extractor to pull out the dirty solution.
- Avoid soaking the fabric. Excess water can seep into the foam and cause mildew smells.
- Leave the doors or windows open, or run the heater, until everything is fully dry.
A steam cleaner is a great tool for fabric: the heat loosens grime and sanitizes without much chemical. Use it with a towel over the nozzle on delicate fabrics and keep it moving.
Step 6: Clean and Condition Leather Seats
- Vacuum carefully with a soft brush attachment so you do not scratch the leather.
- Spray a pH-balanced leather cleaner onto a soft brush or microfiber towel and work it into one small section at a time, paying attention to seams and bolsters.
- Wipe off the dirty foam with a clean, damp microfiber towel.
- Apply a leather conditioner or protectant thinly, then buff off any excess.
Avoid all-purpose cleaners with harsh degreasers, household wipes and silicone-heavy products on leather; they can dry it out or leave it slippery. Many modern cars use synthetic leather, which cleans the same way and needs less conditioning.
Step 7: Wipe Down the Dashboard, Console and Door Panels
Spray an interior cleaner onto a microfiber towel, not directly on the dashboard, and wipe the dash, console, steering wheel, shifter, door panels and trim. Use a detailing brush with the cleaner around buttons, vents and textured plastics. Finish with a non-greasy UV protectant on plastics that sit in the sun to help prevent fading and cracking. Keep dressing off the steering wheel and pedals so they are not slippery.
Air Vents
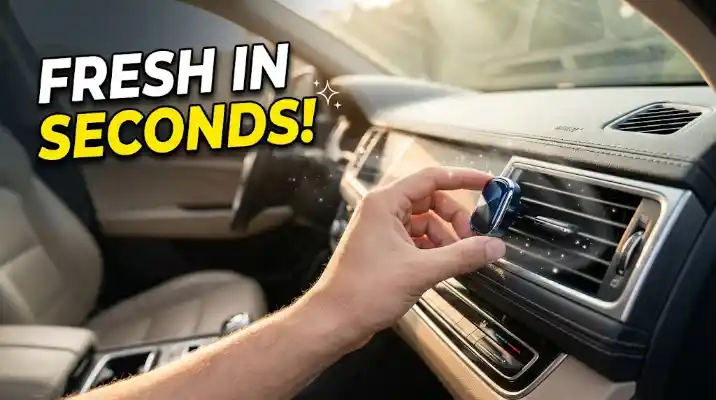
Use a soft detailing brush or foam swab with a little interior cleaner to clean each vent slat, vacuuming as you go. If the vents smell musty, replace the cabin air filter and treat the AC system.
Seat Belts and Door Jambs
Pull the seat belt all the way out, clamp it so it does not retract, and wipe it with diluted interior cleaner. Let it dry completely before releasing it. Wipe the door jambs and sills, which collect a surprising amount of dirt.
Step 8: Clean Touchscreens and Displays
- Turn the screen off so you can see smudges and avoid pressing buttons.
- Wipe loose dust with a dry, clean microfiber cloth.
- Mist a screen-safe, ammonia-free cleaner onto the cloth, never onto the screen, and wipe gently.
- Avoid paper towels, household glass cleaners with ammonia and alcohol unless your manual says they are fine; they can damage anti-glare coatings.
Step 9: Clean the Windows and Mirrors Last
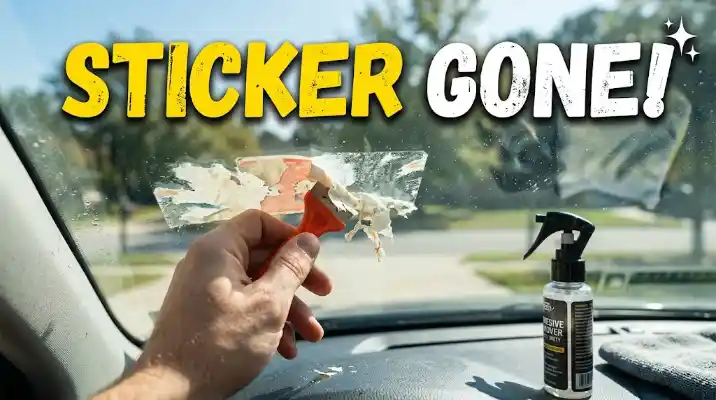
Clean the inside of the glass with an ammonia-free glass cleaner and two microfiber towels: one to clean and one to buff dry. Roll the windows down an inch to clean the top edge. The haze on the inside of the windshield often comes from plastics off-gassing, so it may need two passes. Be careful around rear-window defroster lines and window tint. Leftover inspection or parking stickers on the glass? See how to get stickers off a car window safely. A clean cabin filter also helps; see fueleconomy.gov’s maintenance tips.
Special Problems
| Problem | What works |
|---|---|
| Pet hair | Rubber pet-hair brush or pumice stone, then vacuum |
| Coffee, soda or juice | Blot, then enzyme or upholstery cleaner and extraction |
| Grease or makeup | Upholstery cleaner with a degreaser, tested on a hidden spot first |
| Gum | Harden with ice, then chip off; treat residue with cleaner |
| Sand | Stiff brush and repeated vacuuming; compressed air helps |
| Mildew | Dry the source, clean with an enzyme or mildew cleaner, replace the cabin filter |
| Smoke odor | Clean every surface including the headliner and seat belts; consider a professional odor treatment |
How Often to Clean Your Car Interior
- Weekly or every two weeks: remove trash, shake out mats, quick vacuum and wipe high-touch surfaces.
- Every 3–6 months: a full interior clean with upholstery and leather care.
- Twice a year: replace or check the cabin air filter and deep-clean carpets, especially after winter.
DIY vs Professional Interior Detailing
Doing it yourself costs about $50 to $150 for supplies that last many cleanings, plus two to four hours of work. A professional interior detail usually costs $75 to $250 and includes hot-water extraction and tools most owners do not have. Paying a pro makes the most sense for heavy stains, smoke or pet odors, before selling a car or returning a lease, or when you simply do not have the time.
Car Interior Cleaning FAQ
Declutter, clean the mats, dry-brush and vacuum from the top down, clean the headliner gently, deep-clean the seats and carpets, wipe and protect the dashboard and panels, then clean the windows and screens last.
Use an interior all-purpose cleaner for plastics, an upholstery or enzyme cleaner for fabric, a pH-balanced leather cleaner for leather, ammonia-free glass cleaner for windows and a screen-safe cleaner for displays.
Vacuum, spray upholstery cleaner onto one section at a time, scrub with a soft brush, blot with microfiber towels and let the seats dry fully with the doors open.
Brush it lightly, spray cleaner onto a microfiber towel instead of the headliner, dab gently in one direction and let it dry. Never soak the headliner.
Some mild products work, but many household cleaners are too harsh for car plastics, leather and screens. Ammonia, bleach and strong degreasers can cause fading or damage.
A quick clean takes 30 to 60 minutes. A thorough detailer-style interior clean usually takes 2 to 4 hours, depending on the car size and condition.
Yes for most fabric seats, carpets and hard plastics when used carefully. Keep the nozzle moving, avoid screens and electronics, and use a towel over the nozzle on delicate materials.
An interior-only detail usually costs about $75 to $250, with extra charges for heavy pet hair, stains or odor removal.